
In part one of this tutorial we discussed the types of images you will encounter online and how they can be used. Today, we will go a little bit further and talk about how to best alter your images without sacrificing quality. Let’s dive right into it. We will be using Adobe Photoshop, but there are several image editors that you can utilize to edit images for online publication.
This blog will help you edit images for the web, periodicals, or whatever other medium you will need it for.
For our example, we will use the same images from part one, a florist’s boutique. Today, we’ll take you through how to edit it for the web.
First you will want to load it in Photoshop. It will look something like this:

Notice the percentage by the name. That number indicates the size of the image in the editor. In this case, the image has been zoomed out so only 17.7 percent of its pixels are displayed. This doesn’t mean they are displayed offscreen, you are just being notified that the picture you are seeing isn’t the whole image.
Zooming in Photoshop is done easily and is a great tool. To do so you can hold CTRL + Spacebar and left-click to Zoom in, then holding CTRL + Alt + Spacebar as you left-click to Zoom out.
Here is the same image pictured above zoomed in to 100%.
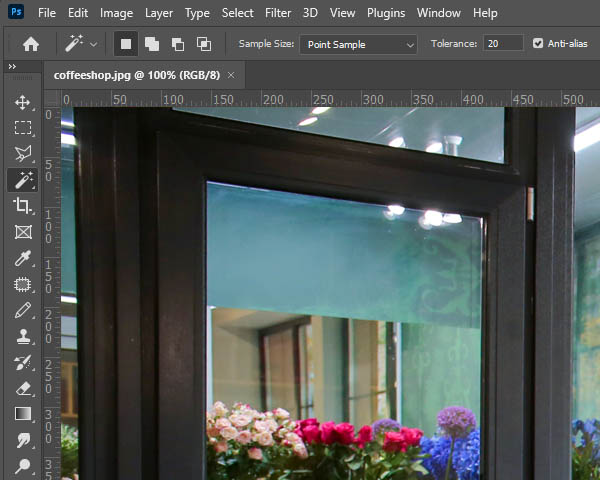
At 100%, the image will be seen in its actual size.
Firstly, it tells you this is a big image; much larger than you would want it to be on a website.
When you zoom in, it shows us that the image is high in quality, which means for editing purposes, it has lots of potential. If you were to print this image, it would likely come out looking crisp, but as mentioned in the previous blog, you don’t want huge images on your website because they would slow things down.
This is as good a time as ever to remind you that images should only be shrunk. We went through this before, but as a reminder, you don’t want to enlarge an image because you lose the crispness of it.
You will also want to save a copy of the original at this point. It’s a large image and it can be useful if you need to revisit for other purposes later on.
If you aren’t a graphic designer—and, if you’re reading this, there is a good chance that you aren’t—it can be a challenge to estimate the size of the image you need. It will likely depend on where you want to feature your image on your website.
If you’re using Firefox as your web browser, there’s also a handy shortcut you can use if you’re just trying to replace an image already on your website.
For reference, you should use the values found in the properties. It will make things much simpler.
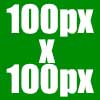
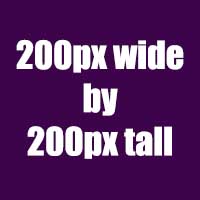
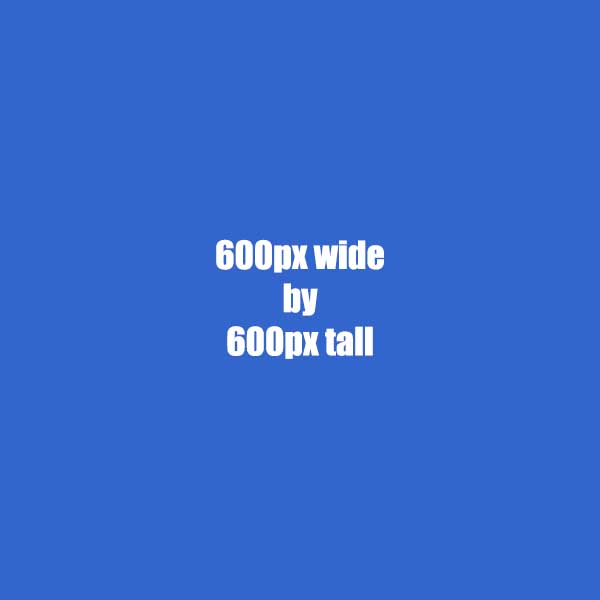
Eyeballing it can also work, using these sizes as reference:
If you are looking at this on a desktop computer or a laptop, these images will give you an idea of what size you will need. If you are reading this on a mobile device, however, some mobile browsers may scale these images and misrepresent the actual sizes, depending on your browser and device.
We went through the zoom percentage. It can be found in the left corner of the Photoshop interface. You will want to work with your image in 100% zoom. This means that you are working on it in actual size. All you must do is click the percentage and set it to 100% or use the methods we went over earlier.
This will give us a fair representation of how large the image is.
Click into the Image Menu and access Image Size, where you should find this window:
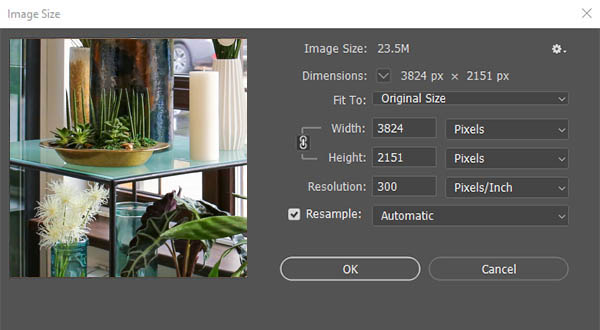
While in this window:
Now it’s time to save your final image. In the last blog, we talked about image formats. You should use JPEG to export your image to your save location. To do so, you navigate to File > Export > Export As. At that point, the Export As window should appear:
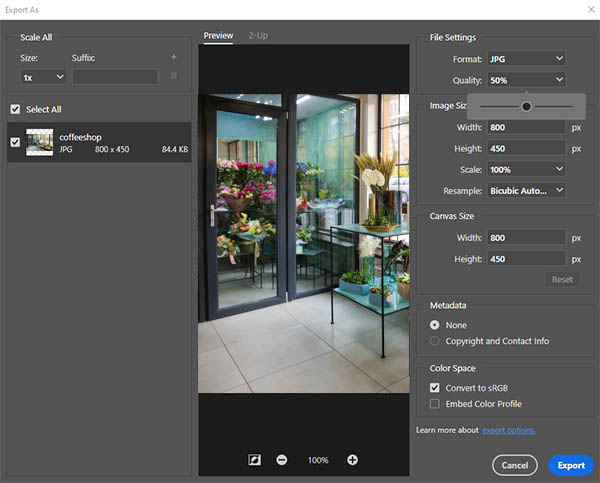
You’ll see a preview of your image, where you can use the + and – icons to adjust your image to 100 percent. Under File Settings on the right, you should check that Format is set to JPG.
To adjust the quality, you can just use the slider on the left. Watch the image preview as you maneuver the slider and stop when you see any degradation of the image at all. Every image is going to scale differently, but the quality value will likely lie somewhere between 40-to-70 percent without impacting how it looks.
Understand that this is extremely important, as the quality slider is what determines the size of the image file. You’ll need to find a balance to ensure that download speeds won’t be affected too much. A too low image will look over-compressed, but not low enough will slow down your download speeds.
Keep an eye on the places where high-contrast colors touch each other for the clearest signs of degradation, like where light and dark meet. Lowering the quality too much will result in weird artifacting and shapes showing up around the edges.
Once you’re done, click on Export. You’ll be asked to name your file and then you are done. Just be sure not to overwrite the original version.
We hope you got something out of this blog series as being able to manipulate images can come in handy, especially online. If you would like to see more tutorials about using technology, leave a comment in the forum below, and be sure to check back on our blog regularly.
About the author
Mobile? Grab this Article!
Tag Cloud
Comments